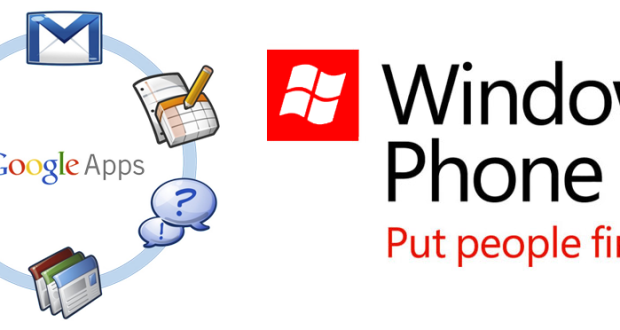
Configuring through the steps of creating domain names of any kind in Google apps Mail is a hectic process and takes more time in processing the settings than to buy a Windows phone. A network domain is a method of managing networks of various computers found in workplaces which can be further used while setting up an exchange with a Windows phone. Here we will tell you How to Configure Google Apps Mail in Windows Phone for any Domain.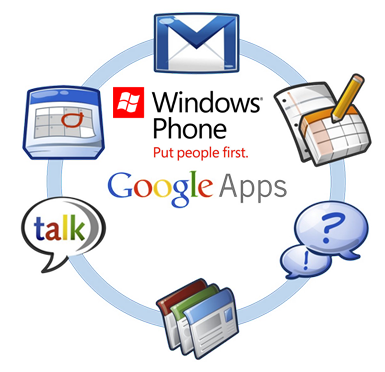
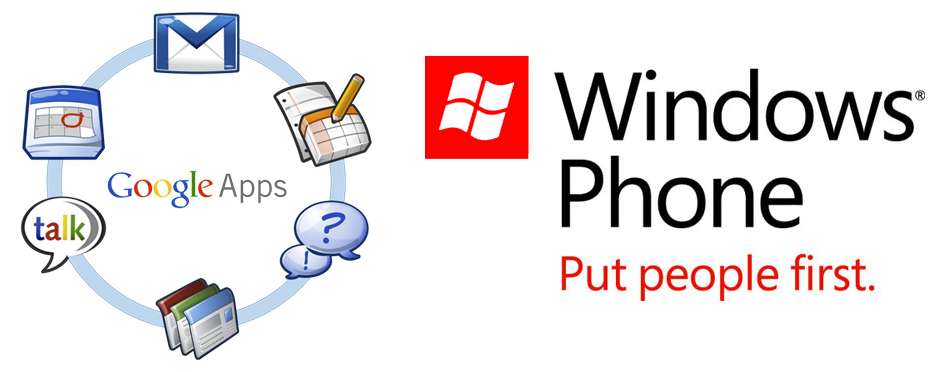
How to Configure Google Apps Mail in Windows Phone for any Domain
Configuring
The following steps are mandatory to Configure Google Apps Mail in Windows Phone with any domain:
- To set up an account, the phone should have a positive and working mobile data or Wi-Fi connection enabled.
- If the personal contacts are stored on a PC, the contacts are needed to be imported in Windows Live or another service (online) before the user synchronizes them into the phone.
Set up a Gmail account
To set up a Gmail account in a Windows phone you need to follow the below discussed points and process.
- After the Windows phone has been updated with the latest software, the phone will not be able to import anything from your Google account or calendar to it. Though you can configure and run the setup manually by flicking to the left App list on the Start menu and tap on the settings menu
- Then tap on the Email + Accounts option.
- You will be directed to another option where you need to put your fingers on, the option Add an Account and then choose Google.
- After making the selections, tap the Email address box and then type in your user name. The password box placed underneath needs to be filled with a strong password and after filling up
- Now press on to Sign In option.
- Tap on the Your Name Box and you need to type in the name you want yourself to appear in case you receive any mail.
- And after all preceding selections and submissions tap on the Sign In button and you will be directed to the path you wanted to.
- If the update has not yet been installed and you are using a Google Apps account, you can easily Sync your calendar to your phone just by enabling Google Sync option in the Google Apps administrator control panel.
- For your user account you also need to enable the Google Sync option and then proceed in your PC with mobile settings for your Google Apps account and run the sync under Service Settings.
- After going through this process tap on the following Settings > Email + Accounts > fill up your Google name, press calendar under Content to Synchronize and finalize it by tapping on done. and you can easily Configure Google Apps Mail in Windows Phone by this method.
Conclusion
The above discussed process is not only for the Gmail domain but also for others like Hotmail, Yahoo, MSN etc. hope the steps turn out to be helpful for those using Windows phone and cannot configure through in creating Domain via Google Apps Mail in their Windows phone. So, now you have learn to Configure Google Apps Mail in Windows Phone for any Domain, Please share this article to social media.